Alright so today let’s talk about JPEG vs RAW editing.
Video-Link: https://youtu.be/Pqrl5Dli8hk
Okay so today I want to talk about a huge mistake that I made too as I started taking pictures and this mistake is part of the shooting and editing process.
And here I’m talking about jpeg files.
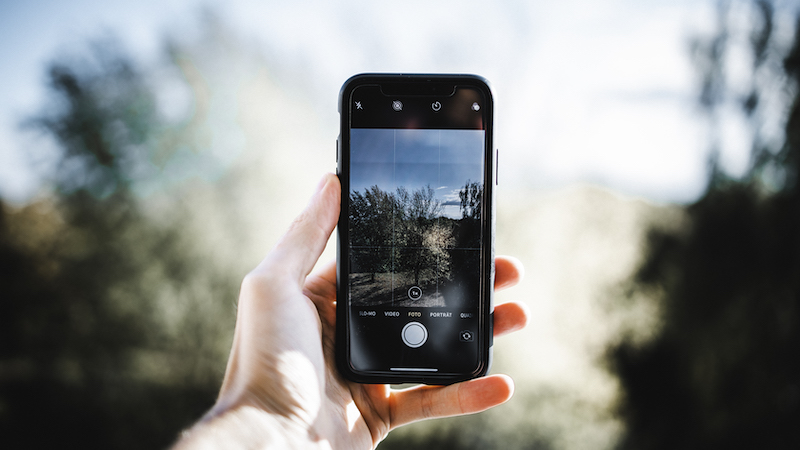
Normally if you take photos you just take your phone or DSLR and take pictures. But if you do that in most cases you save these images as jpeg files especially if you use the auto mode of your camera.
Basically thats not a big problem until you want to get deeper into photography with color correction.
So when you are back at home and took a lot of pictures and then you want to start to make some color corrections you will notice that the image quality will get worse and worse and worse as soon as you start to make all kind of adjustments.
And the reason why the image quality gets destroyed that easily is that jpeg files aren’t made for the post production. These are compressed files that won’t save a lot of data and information that can be used to make some color corrections. Instead they will delete anything and everything that isn’t necessary to achieve a small file size so you can simply save them on your phone, send them to friends and all kind of stuff like that.
So what you should notice is that the basic jpeg file here is the absolute worst case if you want to use them in the post production because of the missing data.
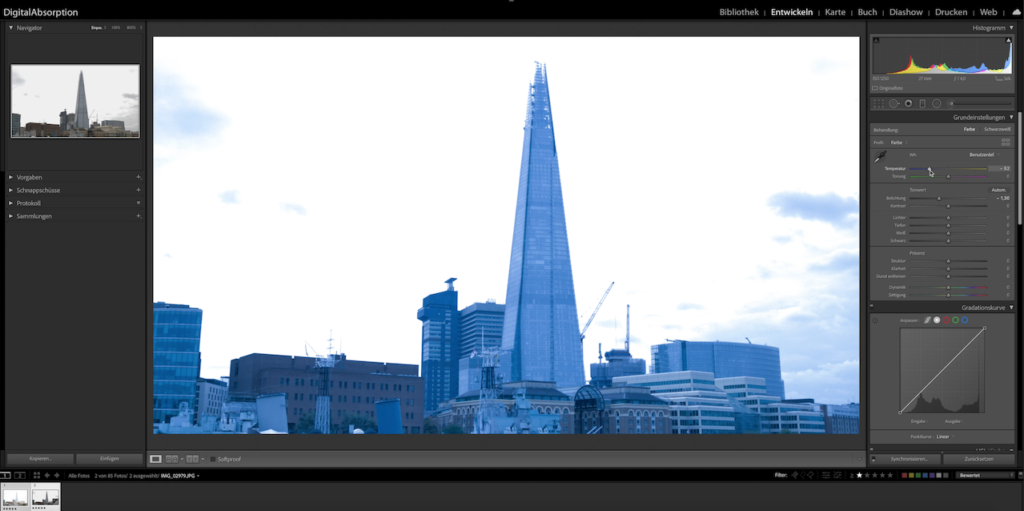
But let me show you an example. So this is a photo that I took a couple of years ago and you can already see that this photo is absolutely overexposed. And if we try to edit this picture I already notice that I can’t do that much to actually safe this photo. If we simply try to lower the overall brightness of the photo a few spots start to appear in the sky but mostly the sky is just grey and completely killed. There aren’t any details left that we can use to make it look good. It’s just a big grey area in our image. On top if I want to change the white balance of the photo it simply switches the complete color of the image to harsh blue or orange yellow because it’s already a fixed white balance. So if the camera uses the wrong white balance while taking the image the complete picture is ruined too.
So what you should notice is that these highly compressed files aren’t that good to create high quality pictures. You are heavily limited and if you make any mistakes like overexpose an image it is possible that you can’t do anything to fix that.
But what you can do instead is to use RAW files. These files contain way more details and information that can be used in the post production to actually do all kind of things.
So if we go back to our overexposed example and switch to the second RAW version right here and now start to lower the overall brightness we can actually bring back most of the sky. Of course since I heavily overexposed the image there are some parts of the sky that are gone but in this case you can actually work with the file way better. So even if you made some mistakes you can try to fix that in the post production. And thats not possible if you use Jpeg files. If you use jpeg files and make a mistake in most cases thats the game over.

Especially if you take photos for a client as an example it would be really bad if you made a mistake and then you have to explain that the final results are simply bad. And thats why I highly recommend to take photos as RAW files because in the end you have way more options to get the final result that you want to have even though you made a mistake.
And no you don’t need a DSLR to take RAW images you can easily take RAW images on your phone too. What you need to do is to go into your camera app settings and check if there is a so called ProMode. This one allows you to handle your smartphone like a DSLR. So you can adjust the white balance shutter speed and ISO simple and fast. And you can set up the file output to RAW files.

If you don’t have a preinstalled ProMode on your phone maybe check out your AppStore there are tons of camera apps out there to get access to these modes. So definitely use that as an advantage to improve your own photography skills.
Stay Frosty!
——————
E-Mail: info@digitalabsorption.de
➥ Subscribe On YouTube ⇢ https://bit.ly/2Bn7aaq
➥ Follow me on Instagram: https://bit.ly/2S6tws1
➥ Follow me on Twitter: https://twitter.com/DigitalAbsorpTV
Gear:
● My Main Camera : https://amzn.to/30sGZMD *
● My Second Camera : https://amzn.to/2Ljw7bv *
● Perfect Camera To Get Started : https://amzn.to/2UgcXrj *
● Microphone 1: https://amzn.to/2ZDPUYg *
● Microphone 2: https://amzn.to/2ZEVFoO *
● Microphone 3: https://amzn.to/2zw1gTF *
● Interface: https://amzn.to/2NJN8yv *
● Monitor: https://amzn.to/2NMcjkd *
● Headphone: https://amzn.to/2UhPGFd *
● Softbox: https://amzn.to/2L7O26m *
● Cheap Smartphone Tripod: https://amzn.to/2MMfSXT *
● Cheap DSLR Tripod: https://amzn.to/2HxuciM *
● Drone : https://amzn.to/2NHWv1C *
● GoPro Hero 7 Black : https://amzn.to/3eZ6oT9 *
● GoPro Chesty : https://amzn.to/2AfcJuL *
● RF 35mm : https://amzn.to/2zUs4xa *
● RF 24-105mm : https://amzn.to/2PPFCoA *
● EF 50mm : https://amzn.to/34mUOg9 *
● EF 18-55mm : https://amzn.to/2UI2wgx *
● EF 10-18mm : https://amzn.to/2POPFKw *
● Tamron 70-300mm : https://amzn.to/34wudxl *
● Additional Music : https://artlist.io/Bjoern-1377240 *
*Affiliate-Link Disclaimer: Some of these links are affiliate links where I’ll earn a small commission if you make a purchase at no additional cost to you.


Comments by Björn