Alright so it’s time to talk about How To Take Better Photos With Your Smartphone – Pro Photography
Okay so taking photos with a smartphone is a common thing and that’s why I thought let’s talk about how to take better photos with your smartphone. And I’ve collected a few tips and tricks that you can use to take better photos.
1 The Camera App
And the first tip is all about your camera app. In most cases when you want to take photos you simply open up your camera app and take pictures. But this is especially if you want to take high quality pictures a mistake because in most cases your basic camera app uses the auto mode which makes all the decision (how the image will look like in the end) for you.
And you definitely want to avoid that because the auto mode won’t know what kind of images you want to take. For example if you want to take some freeze motion photos it is most likely that your image won’t be sharp because the camera app doesn’t know that you need a fast shutter speed to take a good image. So you definitely don’t want to rely on these decisions. It is way better if you can actually decide which settings are the best to get the result that you want to have.
I totally understand that the auto mode is super easy to use and you dont have to worry about a lot of stuff but if you have a great camera and you still use the auto mode you will miss a lot of great features and on top you won’t learn how to actually use your camera. And this is one of the key things that actually makes you a better photographer because if you use the manual mode you will have way more control how the final result will look like and that is the key element if you want to get into photography.
Another big downside is that in most cases your app will create jpeg files and if you want to edit your pictures this is the absolute worst case. Jpeg files contain less information to achieve a smaller file size. And thats why I highly recommend to use RAW files because these files are the complete opposite. You can easily use them to make some high end edits and to get the results that you want to have.
So what I recommend is to check your camera app settings if there is a so called Pro Mode. And this Mode gives you plenty of additional options. Like setting up the ShutterSpeed and ISO and you can select the RAW file output. If your phone doesn’t have such a ProMode you can check your AppStore. There are plenty of Apps out there that you can use and a good example is the App Lightroom. This App is a camera app and it’s a photo editor too. So basically everything that you need to create some great great content on the go. But just to mention that here this is not sponsored. There are plenty of other apps out there that you can use too.
2 Grid
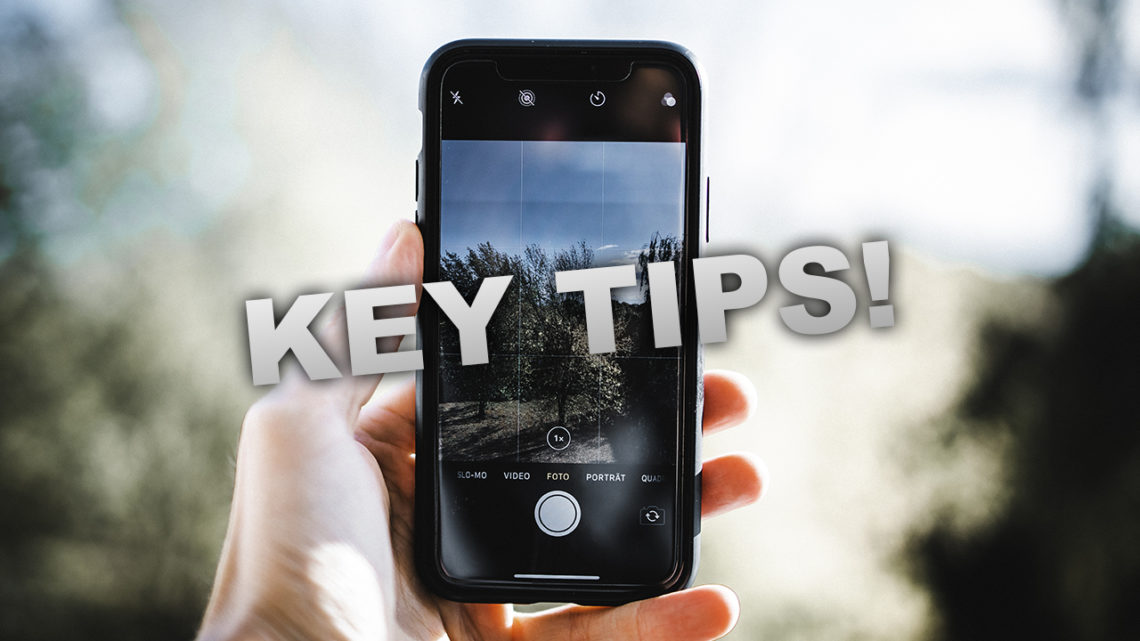
The second tip is to use gridlines to balance your photos and you can simply activate this grid feature in your camera app settings. This feature allows you to take pictures easily following the rule of thirds which is basically a composition principle to place your key element at points of interest.If you use this feature your preview window is split into nine blocks where you place the key element near the corners of these segments. It will help you to create a more natural composition so definitely give it a try.
3 Camera Focus
The third tip is all about focus. As I already mentioned in most cases the camera App will make some decisions for you and even in his case it will set up the focus point for you too but this won’t work every time because you don’t always have one key element that stands out. So that’s why I always recommend to adjust the focus too. Simply tab on the screen to place your focus point and now the camera app try’s to focus on that. It is extremely easy to do in just a couple of seconds so definitely do that and don’t rely on any decisions that the camera app makes for you.
4 Angles
But what’s about actually taking photos? How to actually improve your image composition? Well of course as I already mentioned use the grid as a good starting point. But one of the most important aspects is to actually start moving around. If you have found a great spot for your key element try all kind of positions and angles. The most common mistake is to stick to one angle and position. Don’t be lazy instead try to get low or maybe try to use a different side. Maybe the lighting is way better if you just take the picture using a different angle. Especially if you use these unique perspectives it is way more likely to create individual photos that stand out There are so many opportunities that you can use to improve your work so use them.
5 Avoid Flash
Another tip that I want to give you is to not use the flash of your phone. In most cases this just looks horrible and it can create some harsh images. Especially the basic phone flash creates an unnatural light source that actually won’t improve an image. Instead what I highly recommend is to add additional lights or maybe use different settings to make your overall image brighter.
6 Use A Tripod
Another reason is that in most cases when you shoot in low light situations the smartphone simply raises the ISO in AutoMode to brighten up the image and that leads to more grain in your images which leads to low quality results. You can simply avoid that by using a tripod and a combination of a slow shutter speed so the camera can collect more light while taking the photo and ISO settings. So again the auto mode don’t really know what you want to do and how to take the best image in each situation. It simply uses the easiest way to get a certain result. And this result is in most cases not good especially in low light situations or if you want to take freeze motion images.
7 Clean Your Phone Lens
The next tip is actually a really common mistake because it’s something you don’t really check from time to time. And here I’m talking about your camera lens. Since your camera is a phone you mostly have it in your pocket and when you pick it up it is possible that you accidentally touch the lens. So what happens is that there are fingerprints on your lens and thats why it is really important to clean the lens if you want to take some good pictures. I know first you won’t notice any differences but as soon as you start to edit the picture or if you check it on a bigger screen you will notice the loss of quality because of these fingerprints as an example. So definitely avoid these basic problems by just cleaning your lens before you start to take pictures it is actually super easy to do.
Okay So these are some tips to get started using the ProMode and how to take better images.
Video-Link: https://youtu.be/bxtgCKJkb6Q
Stay Frosty!
——————
E-Mail: info@digitalabsorption.de
➥ Subscribe On YouTube ⇢ https://bit.ly/2Bn7aaq
➥ Follow me on Instagram: https://bit.ly/2S6tws1
➥ Follow me on Twitter: https://twitter.com/DigitalAbsorpTV
Gear:
● My Main Camera : https://amzn.to/30sGZMD *
● My Second Camera : https://amzn.to/2Ljw7bv *
● Perfect Camera To Get Started : https://amzn.to/2UgcXrj *
● Microphone 1: https://amzn.to/2ZDPUYg *
● Microphone 2: https://amzn.to/2ZEVFoO *
● Microphone 3: https://amzn.to/2zw1gTF *
● Interface: https://amzn.to/2NJN8yv *
● Monitor: https://amzn.to/2NMcjkd *
● Headphone: https://amzn.to/2UhPGFd *
● Softbox: https://amzn.to/2L7O26m *
● Cheap Smartphone Tripod: https://amzn.to/2MMfSXT *
● Cheap DSLR Tripod: https://amzn.to/2HxuciM *
● Drone : https://amzn.to/2NHWv1C *
● GoPro Hero 7 Black : https://amzn.to/3eZ6oT9 *
● GoPro Chesty : https://amzn.to/2AfcJuL *
● RF 35mm : https://amzn.to/2zUs4xa *
● RF 24-105mm : https://amzn.to/2PPFCoA *
● EF 50mm : https://amzn.to/34mUOg9 *
● EF 18-55mm : https://amzn.to/2UI2wgx *
● EF 10-18mm : https://amzn.to/2POPFKw *
● Tamron 70-300mm : https://amzn.to/34wudxl *
● Additional Music : https://artlist.io/Bjoern-1377240 *
*Affiliate-Link Disclaimer: Some of these links are affiliate links where I’ll earn a small commission if you make a purchase at no additional cost to you.


Comments by Björn