Alright so let’s talk about 5 Lightroom Tools you need to use for Photo editing.
Video-Link: https://youtu.be/5Y1YrTW3n_0
Okay so today I have collected my top 5 favorite Lightroom tools that I use most of the time .
1 Spot Removal Tool
This tool is so great because sometimes you have these small details that you just want to remove and this tool makes it possible to do that. Just simply open it up and now you can easily remove all kind of stuff in your pictures. I mostly use it to remove some small things like some spots here and there and I definitely need to say that I’m really happy that I don’t have to always use Photoshop to do that. Of course if I need to do way more stuff I always use Photoshop but for some basic edits this tool is perfect. I’ve made a complete video about this tool here on my channel so if you are interested in that check out the following video.
2 Synchronize
But now let’s move on with the second tool that I highly recommend to use and this is Synchronize. Especially if you need to use a certain style for your pictures it is extremely annoying to always make all the adjustments and then redo it for the next photo and so on and so on and so on. And thats why you can easily use another tool to avoid that completely. What you need to do is to select the photo that you used to create a certain style + you have to select all the other pictures that you want to use. Right after you have done that a Synchronize button appears in the right corner and if you click that Lightroom will synchronize all the pictures. You only need to check if everything is fine maybe you need to do some fine-tuning but the rest is already done. And exactly thats why I highly recommend to use this tool.
3 Before And After
The third tool is the Before and After Tool.
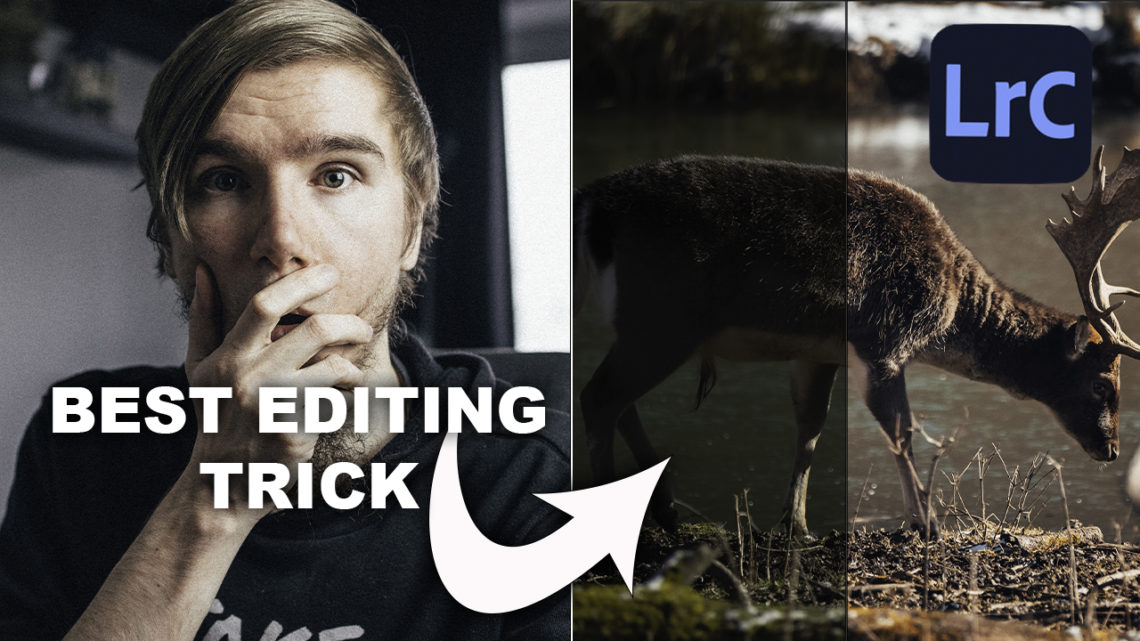
This tool will help you to actually see your progress while editing. Because sometimes you make a lot of adjustments and after some time you simply won’t notice anymore what actually changed. So thats why it’s really important to check your editing from time to time. But to click on reset or to export the basic photo is extremely annoying and thats why there is a really nice solution for this. So instead what you should do is to press Y on your keyboard and now the Before and After feature appears. And that is great to actually check out how your image changed over time. You can also click on the YY button to open it up so this is fully up to you but I highly recommend to use this feature because it is actually helpful and I use it all the time to double check my edits.
4 Instagram Crop
And I really like to post my pictures on my Instagram page and Instagram definitely needs specific picture sizes to avoid additional compression. And by the way if you don’t follow me on Instagram. Check that out.
https://www.instagram.com/digitalabsorption/
But yeah to get the right Instagram crop I always use the Crop tool. This one allows me to select the perfect crop for my Image. So in this case 4:5 and right after that I can simply select the area that I want to use on Instagram. Another good part is the Horizon Correction. If you click on that you can draw a line on your image and right after that Lightroom will use that as the horizon. So if your picture needs some tweaking to get a perfect horizon: You can simply use this tool too.
5 Picture Selection
But now let’s move on with number 5. And this one is all about picture selection. Whenever I take photos in most cases I have to import a lot of them. And of course I don’t want to use them all so I have to check them all to see if I like one of them or not. And it is really annoying if you have 100 pictures in your library but you only want to edit 5 of them.
And to find them over and over again in this little timeline is an absolut no go. So instead as soon as you find a picture that you like simply press P on your keyboard or one number between 1 and 5 to rate this image. After you have done that for all the pictures that you want to use simply go the check box right select the right setting that you used to mark the images. Now Lightroom will show you just the pictures that you need to edit. This is super simple to do and you don’t have to waste a lot of time searching for all kind of pictures.
Stay Frosty!
——————
E-Mail: info@digitalabsorption.de
➥ Subscribe On YouTube ⇢ https://bit.ly/2Bn7aaq
➥ Follow me on Instagram: https://bit.ly/2S6tws1
➥ Follow me on Twitter: https://twitter.com/DigitalAbsorpTV
Gear:
● My Main Camera : https://amzn.to/30sGZMD *
● My Second Camera : https://amzn.to/2Ljw7bv *
● Perfect Camera To Get Started : https://amzn.to/2UgcXrj *
● Microphone 1: https://amzn.to/2ZDPUYg *
● Microphone 2: https://amzn.to/2ZEVFoO *
● Microphone 3: https://amzn.to/2zw1gTF *
● Interface: https://amzn.to/2NJN8yv *
● Monitor: https://amzn.to/2NMcjkd *
● Headphone: https://amzn.to/2UhPGFd *
● Softbox: https://amzn.to/2L7O26m *
● Cheap Smartphone Tripod: https://amzn.to/2MMfSXT *
● Cheap DSLR Tripod: https://amzn.to/2HxuciM *
● Drone : https://amzn.to/2NHWv1C *
● GoPro Hero 7 Black : https://amzn.to/3eZ6oT9 *
● GoPro Chesty : https://amzn.to/2AfcJuL *
● RF 35mm : https://amzn.to/2zUs4xa *
● RF 24-105mm : https://amzn.to/2PPFCoA *
● EF 50mm : https://amzn.to/34mUOg9 *
● EF 18-55mm : https://amzn.to/2UI2wgx *
● EF 10-18mm : https://amzn.to/2POPFKw *
● Tamron 70-300mm : https://amzn.to/34wudxl *
● Additional Music : https://artlist.io/Bjoern-1377240 *
*Affiliate-Link Disclaimer: Some of these links are affiliate links where I’ll earn a small commission if you make a purchase at no additional cost to you.


Comments by Björn