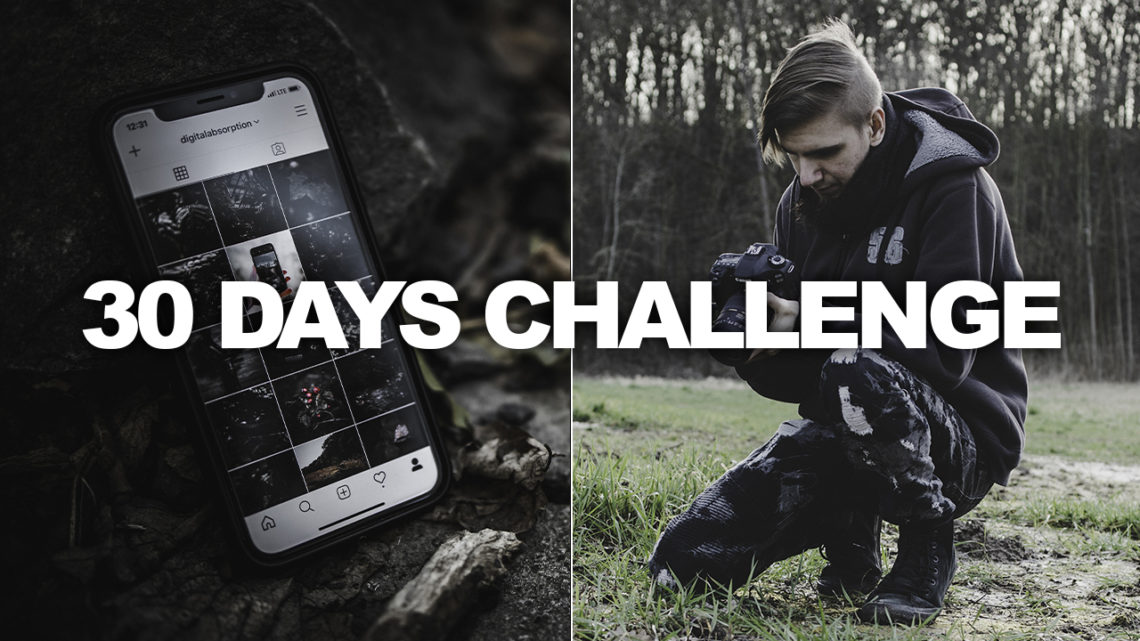
Alright so let’s start with a new Series: The 24 Hour Challenge. And todays challenge is: How to make 30 days of Instagram Content in 1 Day
Video-Link: https://youtu.be/4b-MFYvqUFg
Okay so since I really like to talk about Behind The Scenes I thought let’s talk about how to make 30 days of Instagram Content in 1 single day.
So here is how I did it in 1 single day.
To create 30 days of Instagram content I thought it would be better to follow a few steps, tips and tricks to make it as easy as possible to create the overall content.
So let’s talk about that first.
Content Plan
The first step for me to create that much content is to plan and prepare.
If you actually need to produce a lot of content you need to have a plan otherwise you’ll get stuck after a few hours because its way to much work. So I highly recommend to open up a notes document and to write down what kind of content you want to publish over the next 30 days. Of course you don’t need to have a complete plan but basically you should know is:
- What you need to do to get the right content
- What kind of content you want to create.
So as an example let’s say your page is about Camera gear. In this case you need at least 30 pictures of your camera gear and maybe some additional pictures to fill up your post.
But of course sometimes you don’t have 30 picture ideas right now in your mind so what I recommend is to check out other pages about camera gear or maybe google to get some inspiration and then use that to create your own content plan. That makes it way easier to find good content that you like to produce.
So in this case I actually post camera gear content and a lot of nature photography in my feed so I will use that as the baseline for my content. And since I recently started to follow a little grid strategy I noted that I need at least
- 10 nature photos
- 20 camera gear related pictures.
- Plus some additional content for the swipe feature in the feed.

Content Production:
So now the basic plan is set and thats why it’s time to talk about the content production.
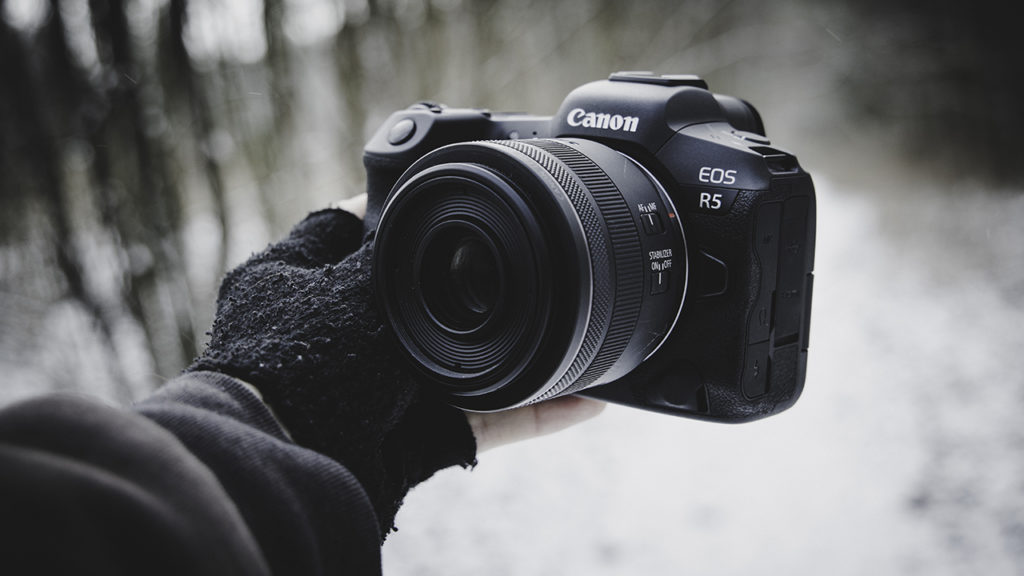
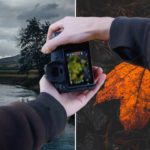
This is an extremely important step because if you don’t take good photos the whole plan will fail. And thats why I highly recommend to try to make it as easy as possible for you to take these pictures. And to make it as simple as possible I picked up my cameras in this case the Canon EOS R and my R5 and I went outside into the forest to take all those photos.
And here is why.
So what I did was that I simply started to take a variety of photos to get into my workflow and especially these photos are sometimes great for additional content and after some test shots I started to take my first camera gear shots.
And here it is really important to not stick to one angle and spot. Because I don’t want to simply copy every image so what I did was to find a nice place for my first photos and then I took a variety of photos with different angles and right after that I switched the location. And especially thats why I decided to use the nature as my location because there are tons of options that you can use to create different pictures.
So as an example if you take 30 good photos at let’s say 6 locations you can easily rotate between them to mix things up. And since I used the nature as my go to location for those camera gear photos it was actually really easy to do to take some nature photo too as soon as I noticed some cool stuff that was around me.
So it is way easier to get a variety of photos if you choose the right location for your photo session. And since I took way more than 30 images in this photography session I had the chance to use that as additional content for the swipe feature in the feed too.
Instead if I had to create each individual set at home it would take way too much time to create 30 individual photos. And thats something you definitely want to avoid if you need to create content fast.
Post Production
So now let’s move on to the post production. And in this case I simply imported all my pictures that I took into Lightroom and checked them all to find those that I want to use.
To make the post production easier I always marked them by pressing P or a number between 1 and 5 and then I simply sorted them using the sort feature in Lightroom. Thats way easier and I don’t need to scroll through the complete timeline over and over again which is extremely annoying so I use that all the time to improve my workflow.
Another feature that I used was the synchronize feature. I simply made the complete post production for one picture and right after that I selected all those images that should use the same color grading. If you now click on synchronize Lightroom will add all those adjustments to the selected pictures which makes the whole color correction process way easier. The last steps was to check all those pictures to make some fine tuning and to crop the images for Instagram. I mostly use 4:5 but 1:1 is fine too. And by the way If you are interested in my Instagram export settings. Check out this video here: (Video-Link: https://youtu.be/Ohj4vq1jhV4)
Additional Content
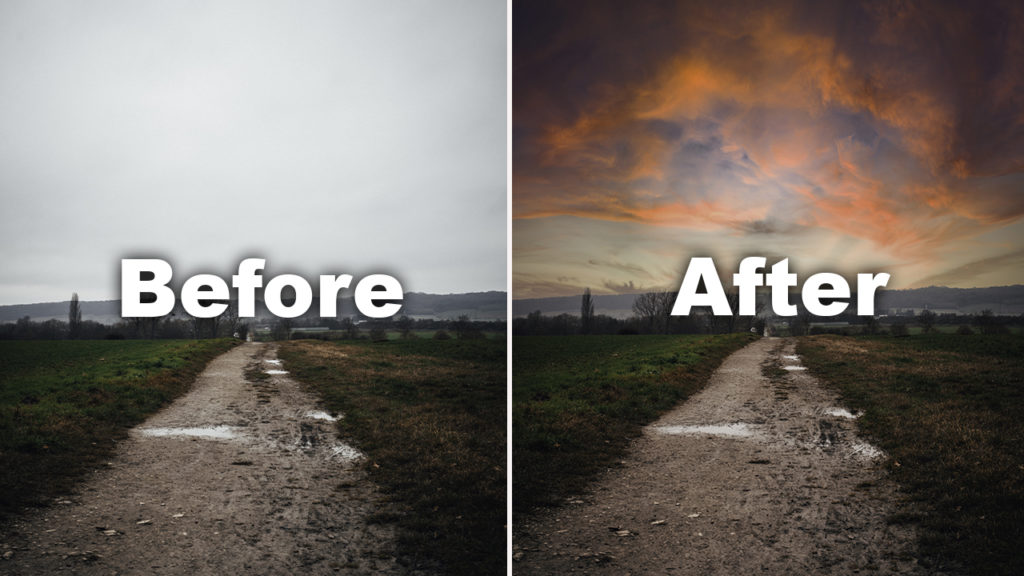
So know we have created the basic content that we want to publish. But whats about the additional content? Well in this case I really like to use some additional nature shots that I took in the last photo session to share some more details about a lens or camera. And another step that I like to include is the Before And After shot. Mostly I press Y on my keyboard in Lightroom to get this “Before And After Preview” of my Image and then I simply make a screenshot of that to show some BehindTheScenes of my post production. So for every single day I can easily create at least one additional picture that shows the Before And After of the Post Production. This is super easy to do and it actually shows what happened to the RAW file. And that is for me one of the most important aspects about photo editing to see how to get these results.
The next step is to prepare your posts. So first it’s time to sort those images and to do that I simply created folders for each day and put all those images that I want to post on this day into this folder. So the only thing that I had to do was to go into this folder, select all those images every single day send them to my phone via AirDrop and to create the post.
Of course what you can do to spend less time on that is use a Management Tool for that but in most cases you have to use a paid version to plan all these postings for a whole month – including multiple pictures in one post – so thats actually not the best option if you are just starting out. But fo course this is possible too to save even more time.
Conslusion
Okay so in the end I definitely need to say that it is actually possible to create 30 days of Instagram content in one day. This is extremely helpful if you don’t have that much time or if you want to simply improve your own workflow.
But what I highly recommend is to make a plan before you start to shoot. In this case it is way easier to actually stay focused and to not waste too much time on all kind of stuff. But the most important part is to have enough time for the Production and Post Production because that is the key element of your Post.
Focus on quality and quantity here. It’s not always about the highest standard especially if you have to preplan your postings but you shouldn’t use bad images just to have an image for your feed. Just be a little bit creative and use some inspiration to get started.
Stay Frosty!
——————
E-Mail: info@digitalabsorption.de
➥ Subscribe On YouTube ⇢ https://bit.ly/2Bn7aaq
➥ Follow me on Instagram: https://bit.ly/2S6tws1
➥ Follow me on Twitter: https://twitter.com/DigitalAbsorpTV
Gear:
● My Main Camera : https://amzn.to/30sGZMD *
● My Second Camera : https://amzn.to/2Ljw7bv *
● Perfect Camera To Get Started : https://amzn.to/2UgcXrj *
● Microphone 1: https://amzn.to/2ZDPUYg *
● Microphone 2: https://amzn.to/2ZEVFoO *
● Microphone 3: https://amzn.to/2zw1gTF *
● Interface: https://amzn.to/2NJN8yv *
● Monitor: https://amzn.to/2NMcjkd *
● Headphone: https://amzn.to/2UhPGFd *
● Softbox: https://amzn.to/2L7O26m *
● Cheap Smartphone Tripod: https://amzn.to/2MMfSXT *
● Cheap DSLR Tripod: https://amzn.to/2HxuciM *
● Drone : https://amzn.to/2NHWv1C *
● GoPro Hero 7 Black : https://amzn.to/3eZ6oT9 *
● GoPro Chesty : https://amzn.to/2AfcJuL *
● RF 35mm : https://amzn.to/2zUs4xa *
● RF 24-105mm : https://amzn.to/2PPFCoA *
● EF 50mm : https://amzn.to/34mUOg9 *
● EF 18-55mm : https://amzn.to/2UI2wgx *
● EF 10-18mm : https://amzn.to/2POPFKw *
● Tamron 70-300mm : https://amzn.to/34wudxl *
● Additional Music : https://artlist.io/Bjoern-1377240 *
*Affiliate-Link Disclaimer: Some of these links are affiliate links where I’ll earn a small commission if you make a purchase at no additional cost to you.


Comments by Björn