Alright so let’s talk about mistakes that I did as I started with photography.
Okay so since everyone is talking about beginner photography mistakes I thought let’s talk about some mistakes that I did as I started taking photos. Because yeah nobody is perfect and everyone needs to make some mistakes to actually learn new things and to know how to get better results.
As I started taking photos with my Canon 80D I made a lot of mistakes because I actually didn’t knew how to take pictures with such a camera. I mostly bought my first DSLR because I wanted to record videos and not for photography but yeah a few months later I was in London and I thought let’s try to take some photos. It can’t be that hard. Fast forward most of those pictures where overexposed, the composition was mostly bad and only a few pictures where actually okay.
Camera Features
And that leads us to the first mistake and that was to not check what the camera is telling you. Because yeah every camera has a lot of features that you can use to see if your photo is in focus or might be overexposed. Like this little bar down here.
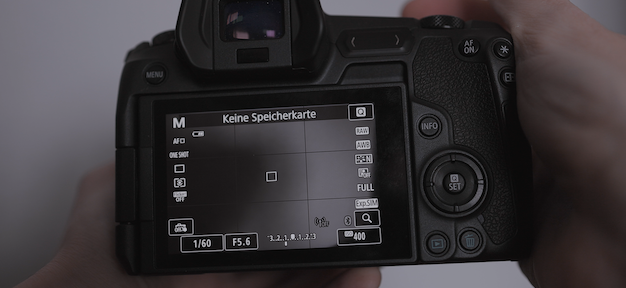
If it is on the left side it is most likely that your picture will be darker and on the other side it is most likely that it will be brighter or overexposed. So you actually should check your screen to see if you make some mistakes. But of course if you take photos in the snow as an example or at night it is most likely that your picture will be bright or dark so you should always combine the information from the camera and your own thoughts to get the best result.
Preview
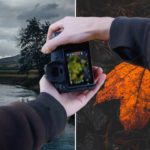
But there is another big mistake here and that is to trust the preview. As I started taking photos I simply checked the Preview of my photo on the backside of my camera and thought yeah that image will be fine. But as soon as imported the image into Lightroom I noticed that my key element wasn’t actually in focus. And thats just because I only checked the full preview of my image on the tiny screen.And that is extremely annoying especially if you do some client work later on that is something you should absolutely avoid.
So Instead I highly recommend to take a photo and then open up the Preview and zoom in to actually see if everything is fine. In most cases there is a button or at least an option to zoom in that allows you to check all kind of details of your image. It just takes a couple of seconds to notice if you actually got the shot so do that to avoid a bad surprise in the editing process.
Shutter Speed
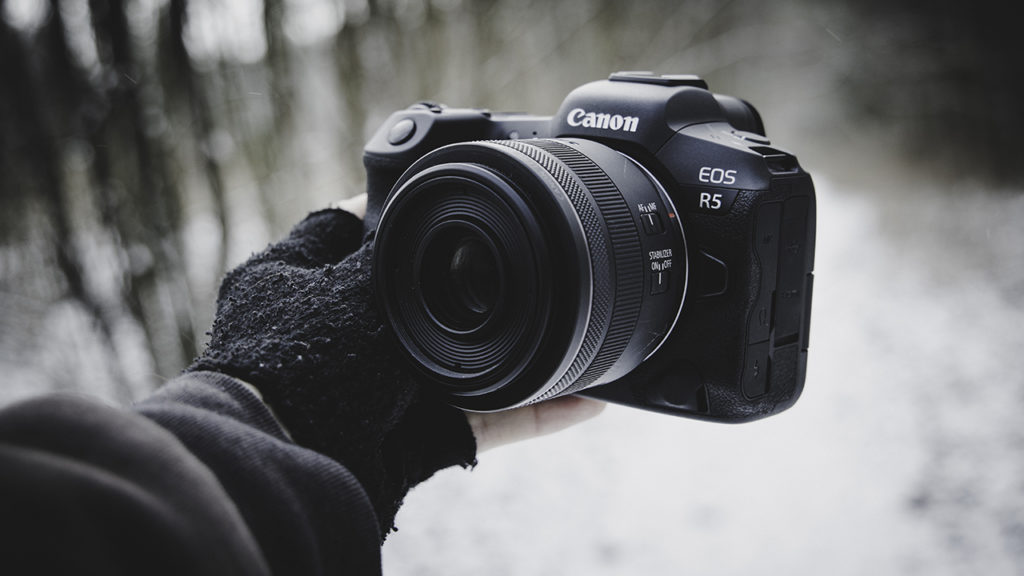
Another mistake that I did while taking photos is to use the wrong shutter speed. Especially if you take photos handheld and maybe it’s windy outside you need to use a fast shutter speed to avoid blurry images. You can use all kind of great settings, plan your photo and all kind of stuff like that but if you use the wrong shutter speed that is way to slow the overall image will be blurry because your camera needs way too much time to take the image. So I highly recommend to keep that in your mind because it’s actually really annoying if you have taken a great photo but it turns out blurry because of such a bad mistake.
Position & Angles
Another mistake that I did all the time was to not move around. And yeah this is one of the most common mistakes as a beginner photographer because it is way easier to just take a photo from one angel or position. But in most cases the results can be way better if you start to move around and try different angles. Sometimes the easiest way won’t help you to take stunning photos but if you go the extra step and get closer or low on the ground to take the image you can take way better photos. So actually try to improve your photography with different angles and positions.
ISO
And the last mistake that I want to mention is all about ISO. Especially at the beginning ISO seems to be the easiest way to make your image brighter. You just need to raise the ISO and everything is fine but especially high ISO settings can easily lead to a lot of noise in your images and that lowers the overall quality of your photos. So it is really important to only use that much ISO that is actually needed to take the image. So first set up your Shutter Speed and Aperture and at the end adjust the ISO to take the photo. Don’t just stick to one Aperture and ShutterSpeed setting and simply raise the ISO you always need to play around with all these settings to get the best possible image quality.
Stay Frosty!
——————
E-Mail: info@digitalabsorption.de
➥ Subscribe On YouTube ⇢ https://bit.ly/2Bn7aaq
➥ Follow me on Instagram: https://bit.ly/2S6tws1
➥ Follow me on Twitter: https://twitter.com/DigitalAbsorpTV
Gear:
● My Main Camera : https://amzn.to/30sGZMD *
● My Second Camera : https://amzn.to/2Ljw7bv *
● Perfect Camera To Get Started : https://amzn.to/2UgcXrj *
● Microphone 1: https://amzn.to/2ZDPUYg *
● Microphone 2: https://amzn.to/2ZEVFoO *
● Microphone 3: https://amzn.to/2zw1gTF *
● Interface: https://amzn.to/2NJN8yv *
● Monitor: https://amzn.to/2NMcjkd *
● Headphone: https://amzn.to/2UhPGFd *
● Softbox: https://amzn.to/2L7O26m *
● Cheap Smartphone Tripod: https://amzn.to/2MMfSXT *
● Cheap DSLR Tripod: https://amzn.to/2HxuciM *
● Drone : https://amzn.to/2NHWv1C *
● GoPro Hero 7 Black : https://amzn.to/3eZ6oT9 *
● GoPro Chesty : https://amzn.to/2AfcJuL *
● RF 35mm : https://amzn.to/2zUs4xa *
● RF 24-105mm : https://amzn.to/2PPFCoA *
● EF 50mm : https://amzn.to/34mUOg9 *
● EF 18-55mm : https://amzn.to/2UI2wgx *
● EF 10-18mm : https://amzn.to/2POPFKw *
● Tamron 70-300mm : https://amzn.to/34wudxl *
● Additional Music : https://artlist.io/Bjoern-1377240 *
*Affiliate-Link Disclaimer: Some of these links are affiliate links where I’ll earn a small commission if you make a purchase at no additional cost to you.


Comments by Björn