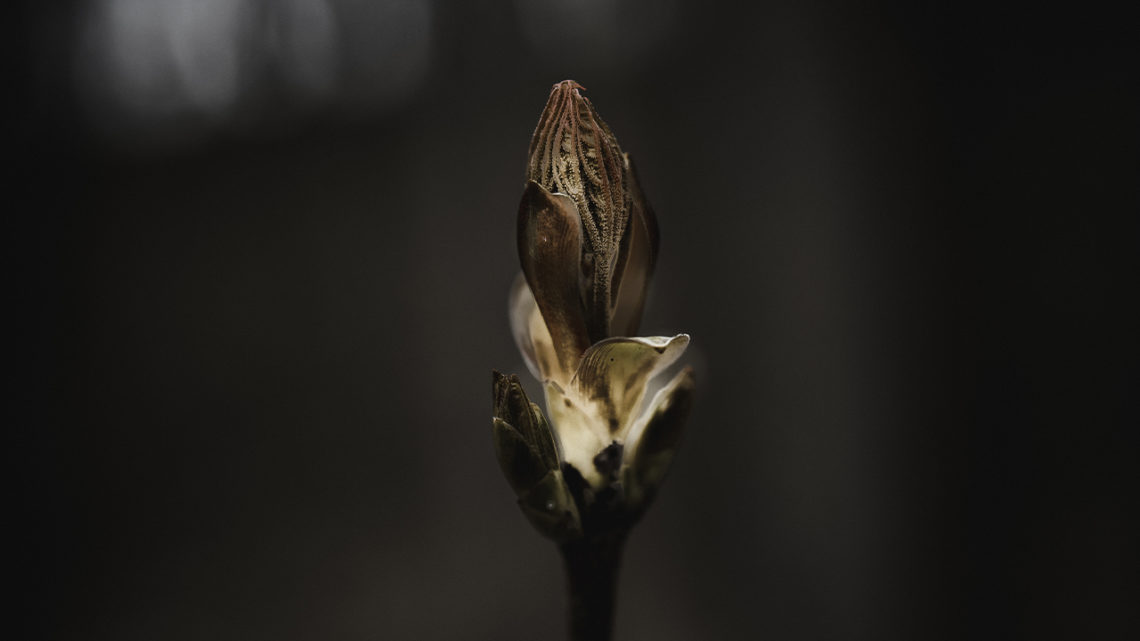
Alright so if you like to take macro close-ups you probably wonder how to get these nice and crispy results. And exactly thats why I have collected a few really easy tips and tricks that you can use to improve your macro photography.
Video-Link: https://youtu.be/t4fG4QnLCa8
Lens
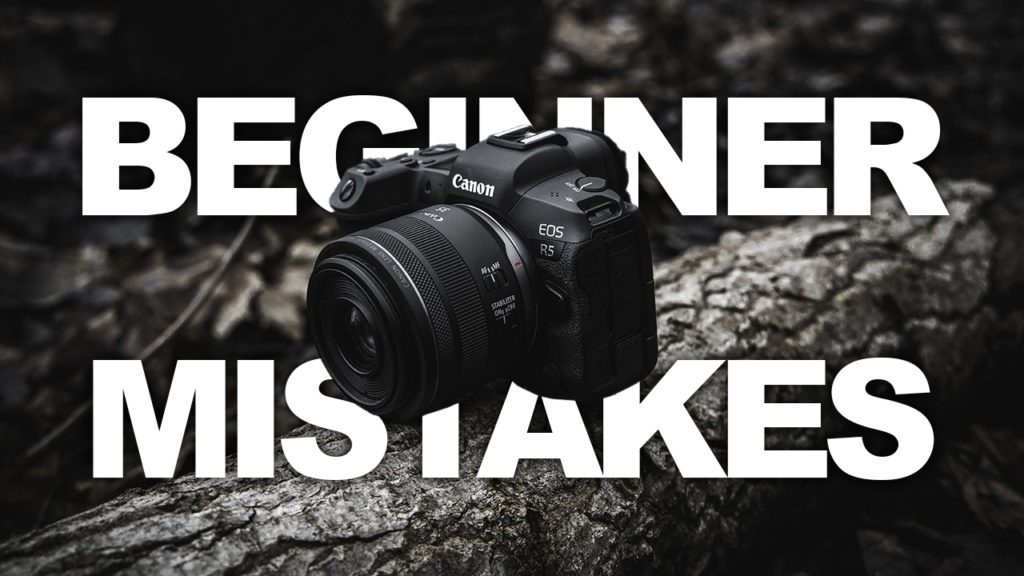
First we need to talk about the lens. You have probably heard it but in my opinion this is one of the most fundamental things that makes it possible to get these stunning results and here I’m talking about Macro Lenses. And yeah there are a lot of lenses out there but a few of them actually have a macro feature and this allows us to get way closer to our key element and still get the focus right. And that is extremely important for macro photography because if you try to get close to your object and your camera simply can’t set the focus the overall image will be blurry or you have to increase the distance between your camera and your key element.
So if you want to improve your macro photography actually think about to invest in a good macro lens to make it easier for you to actually take the image.
I personally love to use the Canon RF 35mm 1.8 Macro because I absolutely love the 35mm look and I can get really close to my key element. On top this lens isn’t that expensive you can get one for around 500€ so that’s absolutely worth it.
Depth Of Field
But of course you don’t have to buy a new lens to improve your work. Another big mistake that happens all the time is the shallow depth of field. Don’t get me wrong here – I absolutely love the shallow depth of field that you get with a 2.8 or 1.8 Aperture… but it doesn’t matter if your key element isn’t fully in focus. Especially if you like to take macro photos only a small part of your key element will be in focus if you want to have such a shallow depth of field. So if you want to have all these details in focus you need to stop down and use a larger F-Stop number to get more and more in focus. And this totally depends on your photo idea and of course what kind of things you use as a key-element. So what I can highly recommend is to set up your camera and take a test shot. Next simply go into the preview and zoom in to see if your focus and shallow depth of field is good or if you have to change those settings. I do this all the time to double check my settings and photos just to see if everything is fine or if I have to take another photo with some different settings.
Stabilization
The next tip that I can give you is all about stabilization. And here there are four ways that you can use.
First handheld macro photography.
If you take your macro photos handheld and I do that most of the time I highly recommend to switch on all kind of options for stabilization. So as an example if you lens has a switch for Stabilization just turn it on. This feature makes it easier to get steady shots even if you take photos handheld so double check that and use the Lens IS to get better results.
The second feature is IBIS.
Not every cameras has such a feature but if you can use it. Use it. Especially in combination with the Lens IS it is way easier to get good results so don’t waste this opportunity to make your overall workflow way faster and easier.
The third option is the Digital IS.
A few cameras – without IBIS – offer a Digital IS. So what happens is that the camera crops in a little bit to create some headroom. And this can be used to reduce the shakiness a little bit. So even if you don’t have IBIS I can still recommend to use this instead even though it create this crop factor in your images.
But now let’ s move on with the forth option and here I highly recommend to use a tripod.
A tripod is the best solution to get steady shots because your camera isn’t moving around. So if you don’t have any other option to stabilize your camera just use a tripod which can actually improve your results a lot. I use a tripod especially if I need to take pictures at home so I can simply move it around and build a set that fits the frame.
Shutter Speed
The next tip is one of the major tips if you take photos handheld. What I noticed is that most people just check their ISO and Aperture settings but especially the Shutter Speed is extremely important. If you want to take a photo of something that is moving around your shutter speed settings needs to be fast enough otherwise your key element won’t be in focus. And you always have a tiny movement if you take photos handheld. Exactly thats why I mostly care about a fast shutter speed to avoid this problem. So definitely keep that in your mind when you are out there taking some photos handheld.
Shooting Mode
Another quick tip that I can highly recommend is to use the continuous shooting mode. If you use such a mode you can simply press and hold the shutter button and your camera will take photos without pressing the shutter button on and on. In some cases this can be really helpful because you avoid the situation that your camera is moving around because you pressed the shutter button. In most cases the second or third picture will be even better because of the missing camera shake.
Remote
Or you can use a remote to take pictures. Most cameras have an App that you can use to take pictures so you don’t have to buy a special remote to do that. If I want to take pictures using my Canon 80D, EOS R or R5 I can simply open up my Camera App on my smartphone and connect it with my Camera. So I never have to touch the Camera to adjust all kind of settings or even to take a picture. It is super easy to do so use these features to get better results.
Stay Frosty!
——————
E-Mail: info@digitalabsorption.de
➥ Subscribe On YouTube ⇢ https://bit.ly/2Bn7aaq
➥ Follow me on Instagram: https://bit.ly/2S6tws1
➥ Follow me on Twitter: https://twitter.com/DigitalAbsorpTV
Gear:
● My Main Camera : https://amzn.to/30sGZMD *
● My Second Camera : https://amzn.to/2Ljw7bv *
● Perfect Camera To Get Started : https://amzn.to/2UgcXrj *
● Microphone 1: https://amzn.to/2ZDPUYg *
● Microphone 2: https://amzn.to/2ZEVFoO *
● Microphone 3: https://amzn.to/2zw1gTF *
● Interface: https://amzn.to/2NJN8yv *
● Monitor: https://amzn.to/2NMcjkd *
● Headphone: https://amzn.to/2UhPGFd *
● Softbox: https://amzn.to/2L7O26m *
● Cheap Smartphone Tripod: https://amzn.to/2MMfSXT *
● Cheap DSLR Tripod: https://amzn.to/2HxuciM *
● Drone : https://amzn.to/2NHWv1C *
● GoPro Hero 7 Black : https://amzn.to/3eZ6oT9 *
● GoPro Chesty : https://amzn.to/2AfcJuL *
● RF 35mm : https://amzn.to/2zUs4xa *
● RF 24-105mm : https://amzn.to/2PPFCoA *
● EF 50mm : https://amzn.to/34mUOg9 *
● EF 18-55mm : https://amzn.to/2UI2wgx *
● EF 10-18mm : https://amzn.to/2POPFKw *
● Tamron 70-300mm : https://amzn.to/34wudxl *
● Additional Music : https://artlist.io/Bjoern-1377240 *
*Affiliate-Link Disclaimer: Some of these links are affiliate links where I’ll earn a small commission if you make a purchase at no additional cost to you.


Comments by Björn