Alright today it’s time to talk about Fast Color Editing in Lightroom Classic – Tips, Tricks & Hacks
YouTube Video Link: https://youtu.be/rIPZUvMw1U4
Our Presets & Templates: https://shop.digitalabsorption.de/
1. Removing Things
Okay so the first feature that I use a lot is the spot healing feature in Lightroom. In most cases when I want to make some bigger changes like removing things from an image I make a right click on the image in Lightroom and open it up in photoshop.
And thats the best way to do some stuff that needs some more work.
But especially if I just want to make some basic changes that takes way too much time. And exactly thats why I use the „Correction“ feature in Lightroom that allows me to remove stuff simply and fast. Just paint over the part that you want to remove and it’s done. You can even try to remove bigger stuff but sometimes it just won’t work so I mostly use if for some small things.So yeah don’t waste a lot of time waiting for photoshop if it’s not that much that you want to do.
2 Before And After
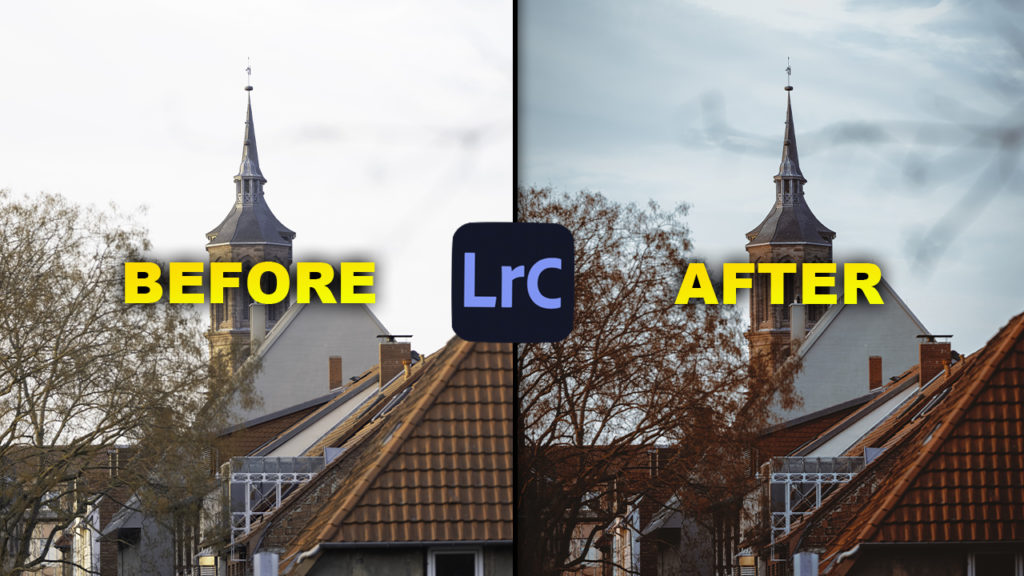
And number 2 is a great feature that will help you to actually see your progress. Because sometimes you make a lot of adjustments and after some time you simply won’t notice anymore what actually changed. So thats why it’s really important to check your editing from time to time. But to click on reset or to export the basic photo is extremely annoying and thats why there is a really basic solution for this. So if you press Y on your keyboard the Before and After feature appears. And that is great to actually check out how your image changed over time. You can also click on the YY button to open it up so this is fully up to you but I highly recommend to use this feature because it is actually helpful and I use it all the time to double check my edits.
3 Fine-tuning
The third trick is all about adjustments. If you want to adjust the sliders in Lightroom sometimes it can be really tricky to get the right setting especially in the basic setup of Lightroom. And thats why you can adjust this layer. Simply drag it to the left side if you want to make it bigger or to the right side to make it smaller again. This is extremely helpful because now you can adjust these sliders way better. But you can do more. If you need to fine tune your settings you can simply make a double click on the number field and then type in the number that you need. So don’t waste your time trying to get the slider in the right direction just type it in and you are set!
4 Lights Out
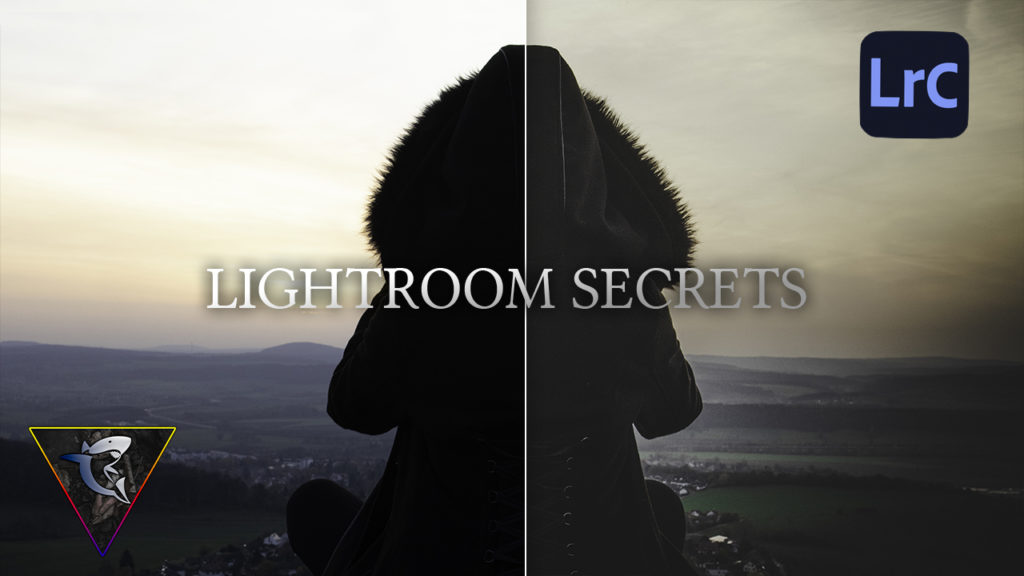
But now let’s move on with number 4 and this one is all about Lights-out. If I want to check my images without having anything in the background I simply press L on my keyboard to make the background darker. If I press L again the background is completely dark and after pressing L again its back to normal. And that’s something that I highly recommend to use to be sure that everything looks great before you export your image.
5 Instagram Crop
Next it’s time to talk about Number 5. And I really like to post my pictures on my Instagram page and Instagram definitely needs specific picture sizes to avoid additional compression. And by the way if you don’t follow me on Instagram. Definitely check out my page right here.
Instagram: https://www.instagram.com/digitalabsorption/
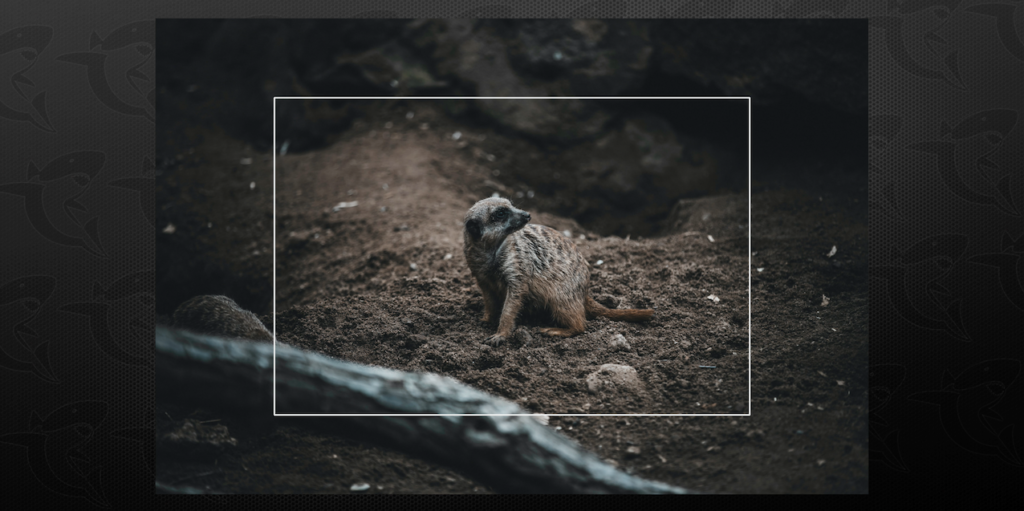
But yeah to get the right Instagram crop I always use the Crop tool in Lightroom. This one allows me to select the perfect crop for my Image. So in this case 4:5 or 1:1 – it depends on what you want to do. And now I can simply select the area that I want to use on Instagram. Another great feature here is the horizon button. If you click on that you can draw a line on your image and right after that Lightroom will use that as the horizon. So if your picture needs some tweaking to get a perfect horizon you can simply use this tool to do that. So yeah this feature is awesome and thats one of the most common ones that I use.
6 Picture Selection
But now let’s move on with number 6. And this one is all about picture selection. Whenever I take photos in most cases I have to import a lot of them. And of course I don’t want to use them all so I have to check them all to see if I like one of them or not. And it is really annoying if you have 100 pictures in your library but you only want to edit 5 of them.
And to find them over and over again in this little timeline is an absolut no go. So instead as soon as you find a picture that you like simply press P on your keyboard or a number between 1 and 5 to mark this image. After you have done that for all the pictures that you want to use simply go to the check box right corner of Lightroom and simply select the selection option that you used. This is super easy to do and you don’t have to waste a lot of time searching for all kind of pictures.
I also use this feature to delete all those RAW files that I don’t want to save. So I just select all those images that aren’t marked and if I press delete Lightroom asks me if I want to delete them only in Lightroom or completely. I use that all the time to not waste a lot of storage for images that aren’t that good. That safes a lot of time so definitely give it a try.
7 Reference View
The next tip is really important if you want to recreate a certain look or style from a different picture. And to always switch between Lightroom and an image is actually annoying too. Because first it takes a lot of time and it’s just way too much work to be honest here. But of course there is a simple solution to do it without switching between the images. And here you can simply click Shift and R on Mac or you can click on this RA option in Lightroom. And now a new layout comes up. On the right side you can see your picture that you want to edit and on the other side you can select your reference photo. Simply drag it into the field and here we go you can start to recreate a style. Whenever I want to learn something new I mostly use that to understand what kind of things I need to do to get in a certain direction.
8 Avoid Peaking
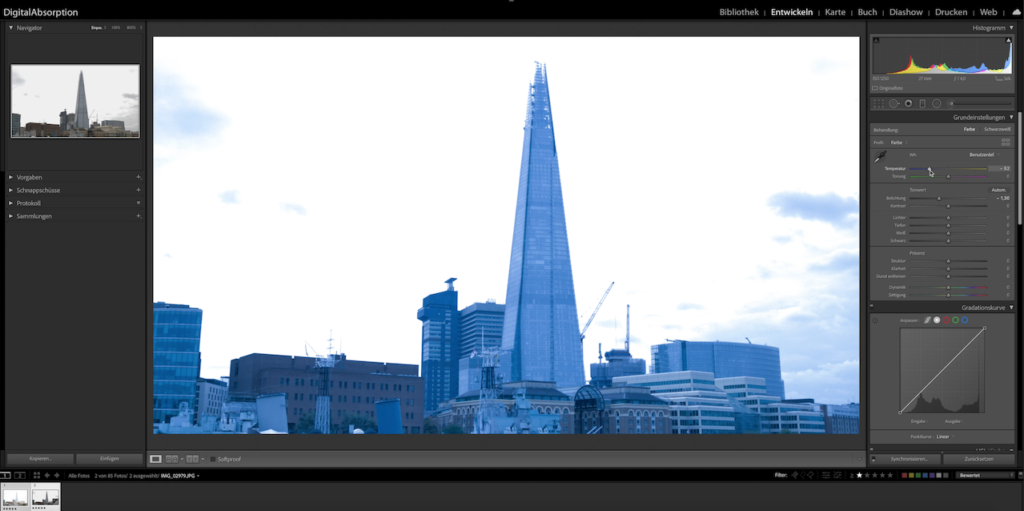
But yeah if you edit your pictures you probably want to avoid clipping so the loss of details in the highlights and shadows when you push your editing way to far. Of course if you take a picture that is way to bright or way to dark clipping is possible before you start to edit the picture but thats in camera. Here it’s all about editing. And if you press J on your keyboard you activate a feature that gives you warnings as soon as you will loose details in the shadows or in the highlights.
So as soon as I make the image darker as an example there will be a blue layer because of the clipping shadows. And if I make the image brighter there will be a red layer because of the clipping highlights. So if you want to avoid clipping definitely check out this feature.
9 Fast Editing
And the next feature is something that I really like to do. If I took a couple of photos and if I made a Preset for this photo session I always had to go though all the pictures one by one to add my Preset. But that’s extremely annoying and way to much work. What I do instead is to make the color correction for one picture and next I simply select all the pictures that I want to use and click on synchronize. Now Lightroom will make the same adjustments to all the selected pictures for me and right after that I simply need to check if everything is fine and then they are ready for export.
10 Customization
The last tip for today is a fun one because yeah you don’t actually need it but it’s a feature that I really like and hats the customization of the Lightroom header. As you may noticed there is this name right here instead of the typical Lightroom header. Well you can simply add a random text or even your own custom logo right here. Just open up the Lightroom tab in the top menu bar and then click on Identity Plate Set up. Here you can add your text or even a logo to personalize your own Lightroom interface which is actually really great and on top you can change the font and size of the whole menu bar in Lightroom too.
Stay Frosty!
——————
Our Presets & Templates: https://shop.digitalabsorption.de/
E-Mail: info@digitalabsorption.de
➥ Subscribe On YouTube ⇢ https://bit.ly/2Bn7aaq
➥ Follow me on Instagram: https://bit.ly/2S6tws1
➥ Follow me on Twitter: https://twitter.com/DigitalAbsorpTV
Gear:
● My Main Camera : https://amzn.to/30sGZMD *
● My Second Camera : https://amzn.to/2Ljw7bv *
● Perfect Camera To Get Started : https://amzn.to/2UgcXrj *
● Microphone 1: https://amzn.to/2ZDPUYg *
● Microphone 2: https://amzn.to/2ZEVFoO *
● Microphone 3: https://amzn.to/2zw1gTF *
● Interface: https://amzn.to/2NJN8yv *
● Monitor: https://amzn.to/2NMcjkd *
● Headphone: https://amzn.to/2UhPGFd *
● Softbox: https://amzn.to/2L7O26m *
● Cheap Smartphone Tripod: https://amzn.to/2MMfSXT *
● Cheap DSLR Tripod: https://amzn.to/2HxuciM *
● Drone : https://amzn.to/2NHWv1C *
● GoPro Hero 7 Black : https://amzn.to/3eZ6oT9 *
● GoPro Chesty : https://amzn.to/2AfcJuL *
● RF 35mm : https://amzn.to/2zUs4xa *
● RF 24-105mm : https://amzn.to/2PPFCoA *
● EF 50mm : https://amzn.to/34mUOg9 *
● EF 18-55mm : https://amzn.to/2UI2wgx *
● EF 10-18mm : https://amzn.to/2POPFKw *
● Tamron 70-300mm : https://amzn.to/34wudxl *
● Additional Music : https://artlist.io/Bjoern-1377240 *
*Affiliate-Link Disclaimer: Some of these links are affiliate links where I’ll earn a small commission if you make a purchase at no additional cost to you.




Comments by Björn